Monday, August 27, 2012

Glamour shots

We have been busting ass to get the basement kitchen ready for occupancy by friends (family of 4) who came to visit last week. Before they got here, we got the sink plumbed (thank you Ken), rest of the cabinets and counters done, some trim slapped up (but not painted), hid the radiator/last unbuilt area with a curtain, and yanked out all the furniture we've been collecting to make it look like functional rooms. So, without further ado, some nicer photos of the basement, in its functional yet not quite done state. (Bathroom is 90% done, bedroom 95% done, living room about 70% and kitchen maybe 70% excluding the stairway, which is only about half done).

This is what the kitchen area looked like 12 days before guest arrival. Eek - nothing like a deadline!
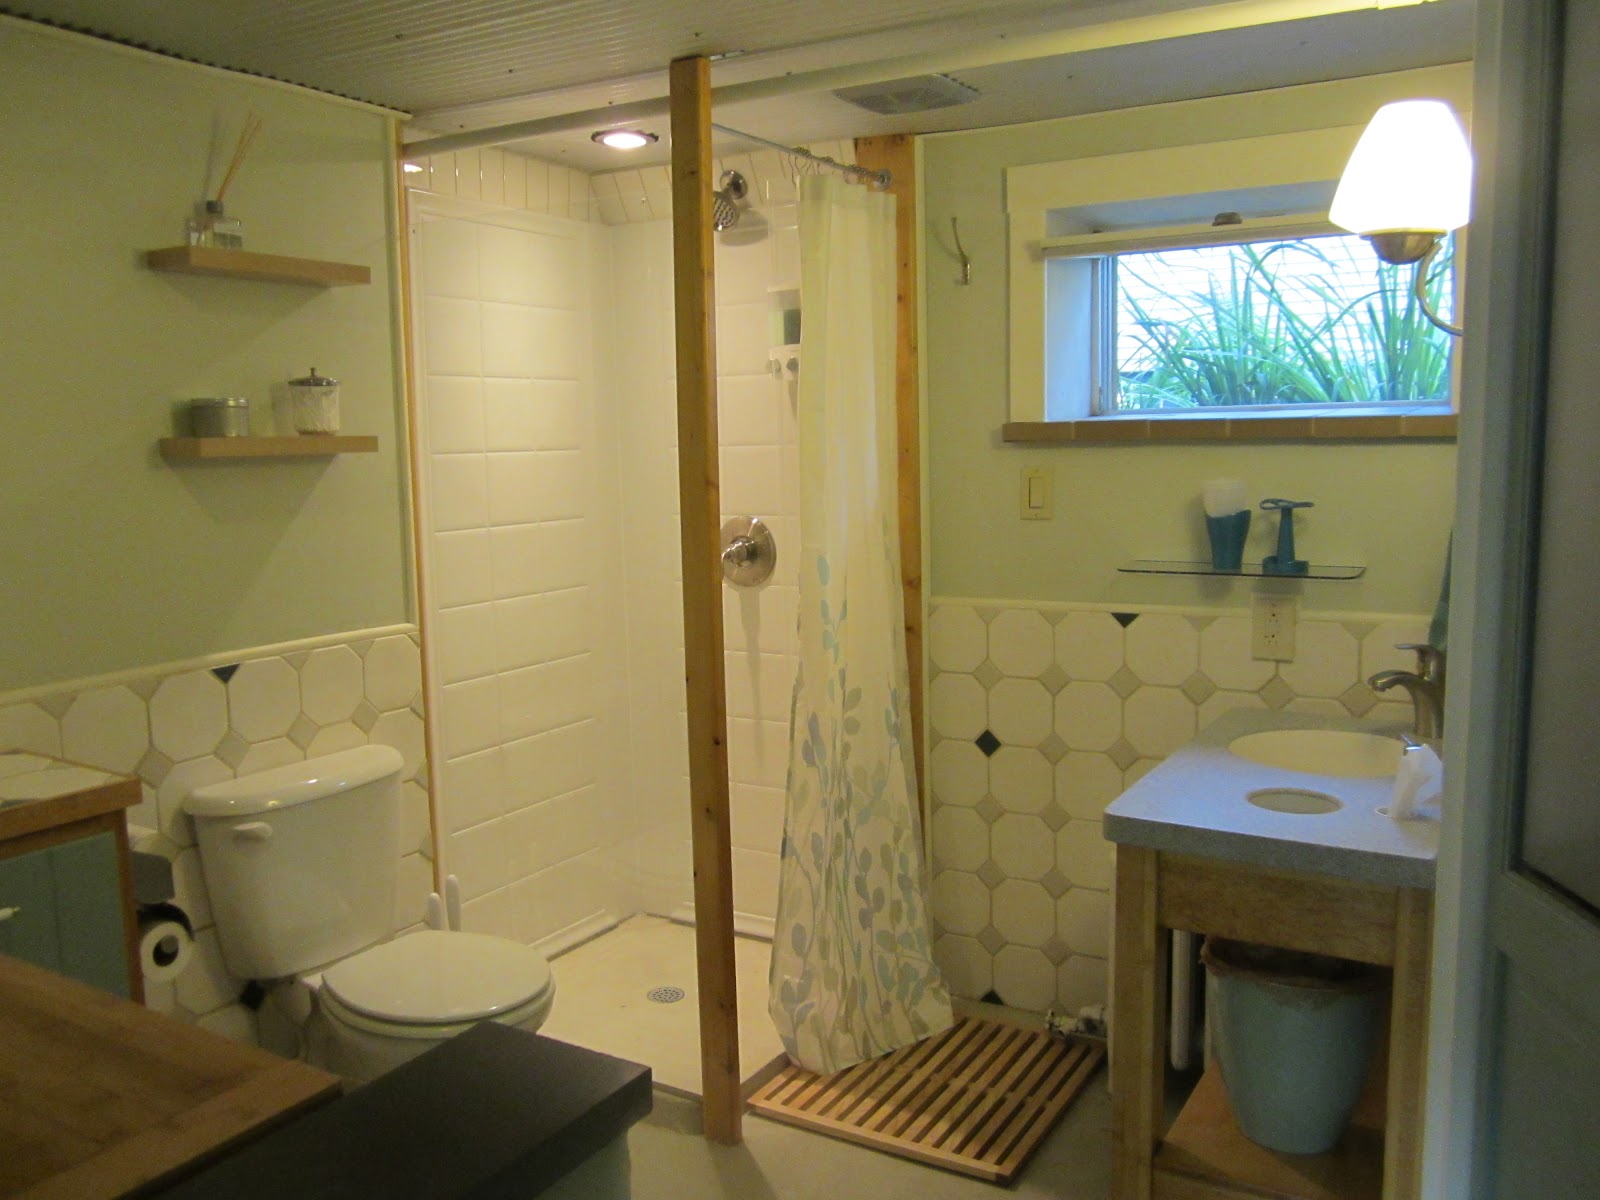
Bathroom - lookin' good!

Bathroom/laundry area, looking toward bedroom.
Toward bedroom, again.
Bedroom (which contains my favorite bed ever, a Danish modern piece from the '80s that we got for $11 at a yard sale around the corner, which we found when a friend stopped over to show us her new car. We ended up stuffing this bed in the car on the test drive!)
Still bedroom, looking back toward bath).
Bedroom.
Bedroom, looking into living room.

Kitchen area, complete except for some trim work.
Kitchen again. Love this view. The microwave & toaster oven are on the stud wall shown in the first photo, way up above. Deadline, schmeadline.
Kitchen, looking toward living room.
I re-wired this just last week - it was a gift (leftover?) from Ken's parents. Ugly and fabulous, now it sports a brand new LED bulb and works great on the vintage Saarinen-style tulip table.
Yeah, I love this table! We just got it when on a camping trip - I saw it on craigslist for $15 (i am not lying) and the seller agreed to hang on to it until we were in the area. Then we just jammed it in our tiny camper at the end of our trip and took it home. Love! Love it. Chairs have since been reupholstered with sassy green & teal retro fabric. They are 2 of 6 I got at the ReStore. Also love them.
More of our collected furniture. We had basically a houseful of mid-century stuff since I'm in love with it all. We have been selling off the extras since there was just too much accumulated.
Living room back toward kitchen and stairs. We now have a small railing up top and I ordered the connectors and such to make an industrial-style pipe railing for the bottom (deadline: Mom & Aunt visit in mid-September. Will we make it?).

Saturday, July 28, 2012

We are checking this off

The screen door is fixed, refinished, and installed! I got to use epoxy filler for the first time (there was one pretty rotten part). Ken used his handy doweling jig to add a piece to the bottom since the door was a couple of inches short. We're freakin' done! Onward.


The only trouble is it lets in so much light we keep spazzing out when we walk by, thinking the door is open and cats/dog are going to escape!

Tuesday, July 10, 2012

So close I could screen!

Not a typo. So, the whole point of the rear overhang-porch thingy (see below) was not to:
  1. Avoid creating the "deathtrap ice stairs", as a dear friend calls them;
  2. Keep the rain off our heads while fumbling for keys with armloads of groceries; or, 
  3. Keep squirrels from chewing through the jammed-in foam pieces to take up residence in the attic. 
No, the real reason we tore off the old rickety overhang and went to all this trouble is to install a $15 screen door we nabbed at an auction a couple of summers ago.

See, when we moved in, there was an aluminum storm door (blech) that was cut down to about 5'8" and a board was screwed to the jamb above, because the old overhang didn't allow a full-height door to open. We got rid of that door and replaced it with a wooden one (yard sale) that we also cut down. We installed a rubber stair tread where that board was, because at least it would flap instead of whack Ken in the head.

This is before. After removing the aluminum door, but before any other work. Yuck, yuck.

Then the $5 yard sale door disintegrated. And we cut the overhang off. And there everything sat. No opening the back door to get a breeze, or to holler to the other person in the yard about anything, or to let the cats sit and meditate about the back yard.

During deck-building. Bye, bye, overhang!
Fast forward to today. The overhang is almost done. We have to caulk a bit and touch up paint, and wait for a piece of replacement vintage-style gutter, but she's together, complete with loads of trim traced from the old rafter tails to make the overhang look organic to the house.


And now we have to fix the auction screen door (it wasn't perfect, you know, but it did come with both a glass pane and a screen pane, and it was once a super-nice door).


Perhaps by the end of the week we can have that summer breeze...

p.s., I just found an old photo of the way, way before - like when we moved in. Geez, that back side of the house was hideous! Some days I can't believe we even bought this place in that condition.

Sunday, July 1, 2012

Just in time

We got the overhang's structure re-styled (it needed some bungalow deliciousness, photos to follow when it looks a little more finished), and Ken put on some shingles we got on clearance. They are close enough, since we will need to re-shingle the whole roof next year.

Just minutes after we got off the ladders and cleaned up, it thundered and started pouring. Here's the view of the successful new roof from the upstairs bathroom! A thing of beauty, mis-matched shingles and all.


Thursday, June 28, 2012

And on a different topic...

For, like three years we've had a gnarly cut-off little roof thing over the back door, and when it rains, it pours down your neck. We pulled the old porch roof off because it was ugly, falling down, and just plain wrong. Plus you couldn't have a screen door because there wasn't enough clearance - annoying.

The plan was to make a prettier overhang that goes with the house, allows the screen door (we bought at auction for $15!) to open, and is more symmetrical with respect to the door.

Obviously, we've been putting this job off. It didn't sound real exciting and it sucks to cut into a roof. So we decided to actually hire help - a local guy who had good references, was willing to have us help, and was really nice to work with. He also totally appreciated the mid-morning iced coffee & donuts, so we like that.

It's amazing what you can get done with hired help! A total jump start...he's done here, having only billed us for a few hours, and we will finish the rest out all bungalow-y. Maybe we can get off our arses and get it done-ish this weekend?


Saturday, June 23, 2012

OK, so no pictures today. Tomorrow!

Did get a bunch of miscellaneous trim installed...

Major progress - then root canal

We actually have made massive strides in the living room and kitchen parts of the basement reno. In fact, we had two sets of family stay down there over the past couple of weeks! Our goal was to have the kitchen cabinets (one side) in and ready to go so they could at least make their own coffee. Check! The living room side is actually about 90% done (photos later) and the kitchen on one side is at a similar stage.

However - these photos are from about a couple of weeks ago - before we finished all that up - because then I had a series of dental misfortunes including an out-of-town dentist, ending with a root canal after being totally out of commission for a while. (Amazing how a tooth plus painkillers can completely incapacitate a person!)

So here are the photos from the beginning of June, just before we finished a series of projects and cleaned up. More later this weekend, as I chip away at some trim and other smaller-scale items:

The hallway, looking toward the upstairs door to the kitchen. The 'vintage' stair stringers essentially fell off in May, and were propped up by a 2x4 nailed to an old piece of framing. Super-posh, right? So we ended up shifting focus for a few days to the stairway and hallway. You might remember from last post that the hall basically looked like - how to say? - some kind of patched-together, post-disaster hovel. It's completely unbelievable what a boatload of joint compound and some paint can do (with Ken's excellent JC skills). Still have to paint trim, but it's now a light-filled, pleasant space instead of a scary tunnel to hell.

 
And the stairs. We cut new stringers, making the stairs more conforming. Before, they had too little headroom at the bottom, irregular rises that were too steep, and a landing that was half-height at the bottom. What else? Oh, right, they fell off and we had to haul the laundry up & down by ladder for a while. That was really cool. So here they are, with temporary treads. We've since made the treads permanent and added risers as well. We re-used the old treads and risers when we could, since that was a lot of good wood and those things are pricey! Still need to paint. The wall is closed in with tile backer board in prep for installing one run of cabinetry (which is now in and update coming soon).

Door to the furnace room. We're almost done closing off the infrastructure part of the basement. This used to be a troll door, about 5' high, which resulted in many a bashed forehead. There was no apparent reason for the troll door, since there's full door height available. I mean, why go to the trouble of dropping a header and cutting down a door? Silliness. This is a salvaged door from the ReStore, $2.99. It was missing the glass or whatever was in the top panel, but the rest was in great shape so we painted it and installed a piece of plywood painted with chalkboard paint in the top. Now we can write cute messages to our guests on the door (or nasty notes if we don't like them).

In a strange coincidence, we had picked up a panel from an old piano from a neighbor's discard pile on the curb and it was sitting around, waiting to be useful. Ken remarked that we should mill a nice chalk tray for the door right about the time I was pondering said piano piece and thinking of tossing it, and as I looked at it, I realized that the music tray on the upper piano panel was essentially a chalk tray, so we unscrewed it, cut about 1/4" off each end, and popped it in the door (coat of varnish too). It looks like it was born there! Our second fab piano usage.


And finally, sneak peek of the kitchenette. It's so teeny, so we can use all sorts of great leftovers and salvage. I got the sage green crackle art tiles at the ReStore (again, like a few bucks) and the white hex time (I've always wanted to have hex tile in the house!) at the ReStore a different day, when of course, I was on foot downtown and ended up walking about a mile with a bag of tile and a baguette in my arms. We've since finished the tiling (had to ask a friend with a wet saw to cut the left-side ones - this crackle glaze chips like mad with a grinder or scorer).

OK, that's about it until I finish some work and take glamour shots later today or tomorrow.