Sunday, July 17, 2011

Thanks, Mrs. Wheat (wherever you are)

We picked up 5 boxes of octagonal white tiles at the Restore last year, thinking we'd use them in the basement bathroom. They're thick (1/2") and appear handmade. A bunch were broken, but we have just enough for the lower half of the walls.

Each box was carefully marked "Mrs. Wheat's Bath". The image of Mrs. Wheat that immediately popped into my head is a proper little old lady at tea - I think my grandmother knew someone with a name like that - and the "Mrs.", the proper salutation, on each box just seems so perfectly old fashioned. I felt so fancy finally installing it this week.

So I began installing Mrs. Wheat's tile on Friday. After grinding my knee into the floor and thinset a bunch, I was pleased to find these knee pads at a yard sale on Saturday - Saturday's tiling was much more pleasant.

We've been waiting to tile until we got the shower panels in - so we would know where to stop tiling, of course. So, here's the shower, and the beginning of tiling from Friday night.

The shower is a homemade, found objects deal. We found two end walls from a fiberglass shower at the big box store for $17 (for both!). We got a couple of pieces of Hinoki wood - our go-to miracle material - to fill in the edges and make a surface we can screw a glass panel (still to come) and shower curtain rod to. More details once the shower is totally done...

And here's the largest of the three walls that needed tile - I've now got all three walls done, just waiting for the few tiles that need special cuts, etc. We're installing leftover 2x2 off-white tiles from the upstairs bath in the spaces, plus an occasional dark teal accent tile that we specially ordered. Luckily our local tile shop was able to order us a single sheet of them, so it was only $9 for the accents.


Hopefully we'll finish up the rest of the tile shortly - then we can install the toilet and washer-dryer!!! Oh, and more trimwork...it's never-ending, isn't it? Getting so close to functional.

Saturday, July 9, 2011

You've come a long way, tapey

Remember the creepy taped-up skin quilt door? Well, it's re-done. We just need to add hardware.

We planned to frost the glass since it will be a bathroom door; I wanted to leave a little non-frosted frame around the edge. Luckily they make stuff called artist's tape in all different widths, so I didn't have to painstakingly slice masking tape into thinner strips. This was 1/2" tape.

We originally wanted to use that cool vinyl window stuff that looks like frosted glass, but it's kind of ridiculously priced (and this basement is meant to be super-inexpensive), so we're using the spray paint frosted glass stuff, which I happened to find for only $3 at the overstock store in town. Looks pretty good, we think.

During the past couple of weeks, we've really been cruising on the trim and other major parts of the bedroom in the basement - it's now really close to done! Here's what the door looks like leaned in the jamb:

I'm so behind on the blog, we didn't get to tell you about the flall (that's "floor-wall") yet - we made the bottom half of the walls from laminate flooring in a whitewash, bamboo-esque pattern. It was cheaper and quicker than drywall and we think it will be more durable. It was great to install and we like the look - what do you think? (Yes, we know it's not bungalow - we're going modern in the basement).

And here's a corner of the room - just needing paint on the chair rail and some touch up. Note that Ken has finished all the wiring and lighting in this and in the bathroom - it's awesome to have light and power down there again!

And here's the view from the bathroom into the bedroom. We had a piece of granite left over from the upstairs bath, and it just happened to fit perfectly on the half wall.

Tomorrow we hope to start figuring out how to make a shower stall from a random bunch of glass and shower wall panels we've accumulated. Wish us luck!

Sunday, June 19, 2011

Putting a silk hat on a pig f***er

#1. Sorry for the title, Mom and others. There's a story, of course.

#2. We have been doing loads of work on the basement, it's just been boring (tales of joint compound = uninteresting blog), or we haven't been writing about it. Catching up now.

#3. This past weekend/week was all about fixing up really crappy stuff. Exhibit A: we finally painted (waterborne epoxy) the back 2 rooms of the basement. A dirty job involving lots of cleaning, scraping, acid-etching, etc. It is not perfect, but it's clean, waterproof, and a nice neutral base. Love it so far! Can't walk on it for a couple of days.

Before, in the bath area. Can't show you the after yet - we can't get to it!

Before...and after (below).


But I digress. What's this thing about a pig f***er? Would you believe, it is the story of our new bathroom vanity.

See, it all began with a bigger vanity top that Susie gave us, a leftover from her remodel. We planned to use it in the bathroom, but even with more space in the reconfigured bathroom, it was just going to stick out too far. So we sent it along to another remodeler looking for a sink, and I found a teeny tiny Corian vanity top at the ReStore for $11.

I had been thinking all along that we would build or repurpose some kind of modernish piece of furniture to serve as the vanity. But, no luck finding one.

Then I saw one I really liked in the pages of This Old House. It was a simple, squarish modern table with shelf below. I suddenly thought: that shape looks awfully familiar. Don't we have a table like that?

See it there, under the TV in the before picture of the basement 'living room'? That's the famed "Pig F***er table". Or at least, that's what we've always called it.

See, the place I work was getting rid of a bunch of old desk-tables many years ago. They had loads of these maple desks from the 1960s (it turns out they are 1963 vintage.

Everyone at work got a table or two - I think they were charging a couple of dollars each. We have one out in the garage as part of a workbench, and have done all sorts of things with this one - work table, painting bench, TV stand, you name it.

Sturdy little buggers - and covered with gum:

and of course, graffiti that tends to express hatred for (a) the course in which one was sitting,

or (b) some unknown enemy, perhaps a mean professor. This latter, we think, was the inspiration for the very expressive "Pig F***er!" scrawled in deep pencil across one of the tables. All the tables were really profane, so it was kind of a big joke that everyone had these horribly rude tables kicking around. So we've always called ours the Pig F***er table. I mean, isn't that just the dirtiest phrase you've heard lately, or what?

That table is now almost completely revamped, sans graffiti, as a new bathroom vanity for the basement. We removed the top, completely disassembled the table and put every piece through the planer (after scraping off literally scores of piece of gum - blech!). Sanding was not going to be an option with profanities this deeply incised.

We then cut down the table top to make a shelf and some aprons, and voila! The vanity is now almost done, just waiting for a couple of more coats of spar varnish. Pig f***er no more! The vanity is actually kind of exactly what I would have picked in a fancy store if we had the cash, but we're thrilled to have re-used an old piece and spent about $2 on it instead!

Sunday, May 8, 2011

A Grape Weekend

Well, the weather was too nice to hunker in the basement, so we worked on some outdoor projects.

We came home one day last fall to see our grape arbor - which we had made by weaving and tying saplings about 5 years ago - fallen down in the back yard. We trashily propped it up with a bunch of 2x2s we had hanging around. Last weekend when we started cleaning up for spring, we realized it looked pretty damn sad - so I got some 10 foot rebar and we planned a new arbor (loosely based on one Ken made for a friend).

It's simple and it's meant to show the grapes, not the arbor itself. Here it is after he welded it together in the driveway (although I should say he then welded some little step-feet things that made installation really easy and sturdy):

And here it is with the grapes carefully draped over - after it leafs out and is less brittle, we'll mess with the canes some more. Nonetheless, it is decidedly less ghetto than the mess we've had all winter.

Because it's rebar and and arbor, and both words are just fabulous to say in a Maine accent, we're calling it the "Rebarbor" - phonetically, that's "Re-bah-baah".

And elsewhere in the garden, my rhubarb is in Year 3, which means I can basically pick all I want!

And I have always wanted a Magnolia, and saved up a bit so I could go get one - this is the variety "Elizabeth" (creamy yellow flowers), so we put her in the front corner where the big tree was taken out last year. The corner is a bunch of tilled-up soil because we need to mix it up and re-grade the old tree spot a bit. With any luck, grass will come in soon.

I love this tree! I will post pix when the blooms open up - it looks like they might be getting ready to burst!

Sunday, April 24, 2011

70¢

Making real progress, and it's been cheap! Our goal for the cellar is our usual budget of $0, so we've been trying to use minimal materials, free stuff, and cheap used materials. So far, doing OK.

Our latest project has been the ceiling in the basement bedroom. It has a horrible dropped paper tile ceiling - which we immediately removed. And then a zillion nails, screws, staples, etc. Also gone.

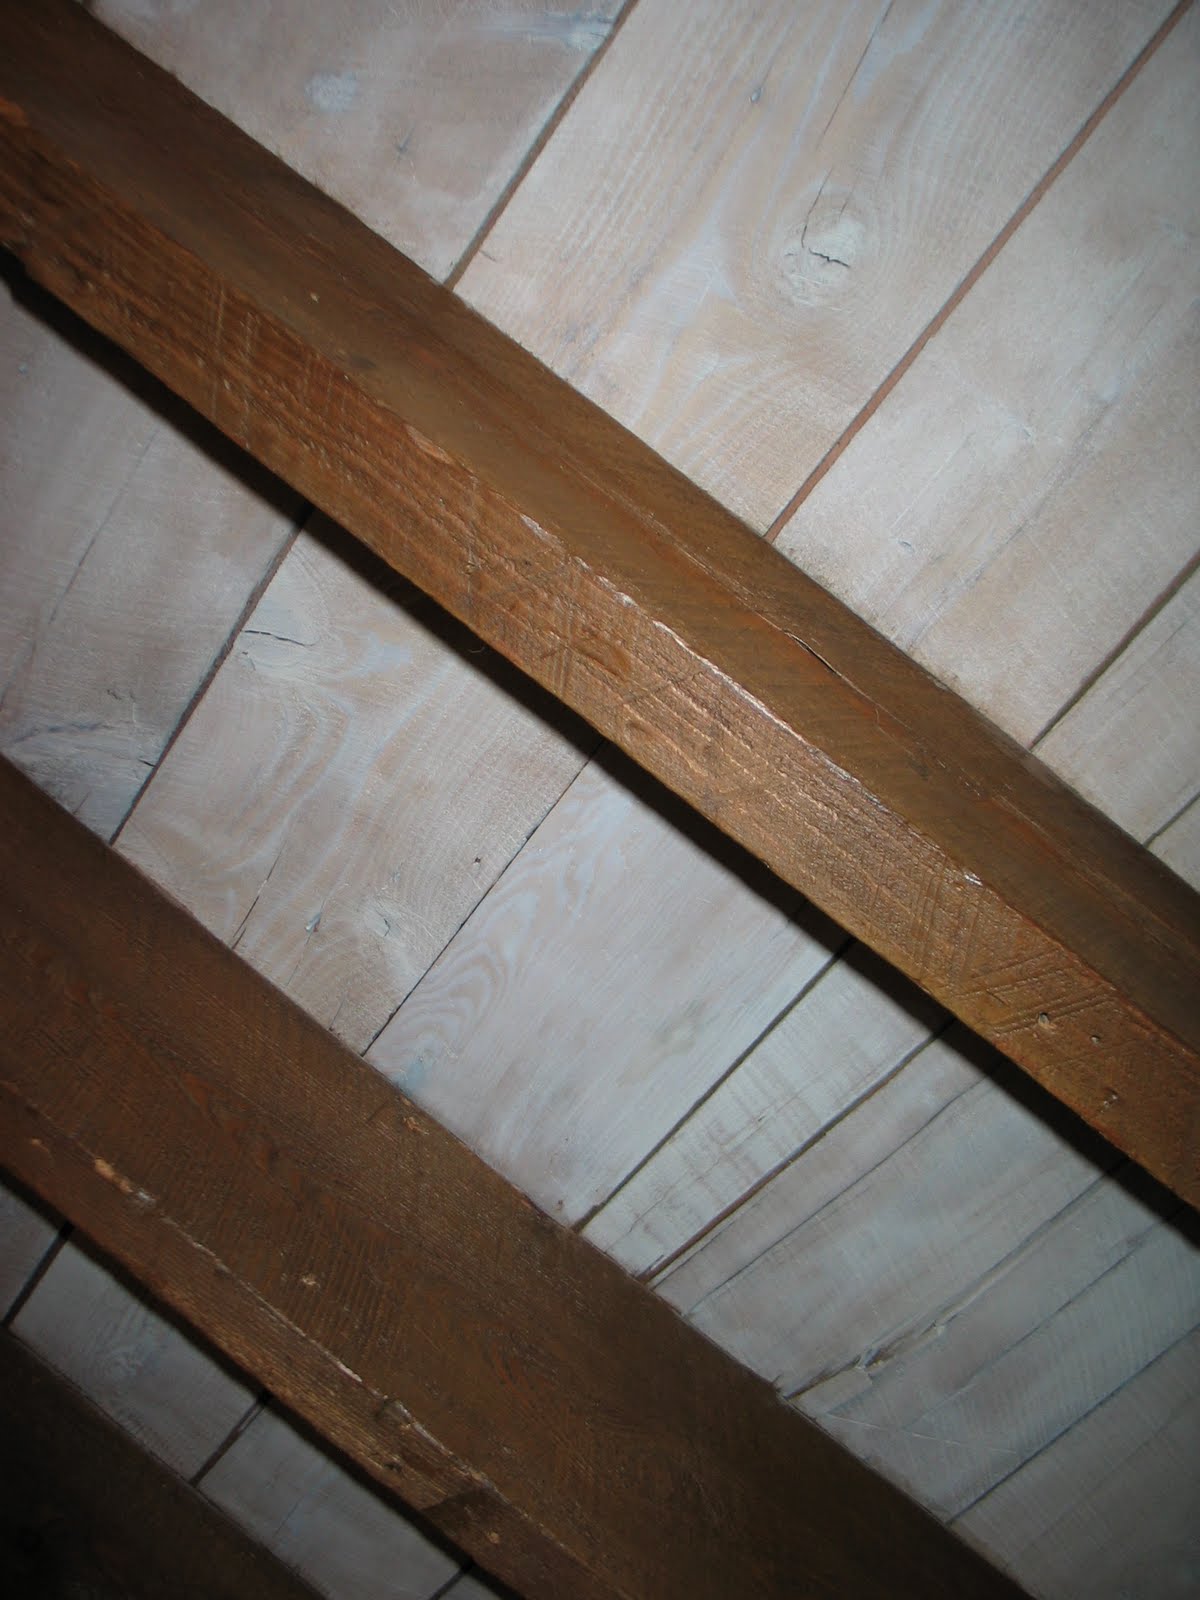
The goal was to not reduce the total height of the room any more than necessary, because it's only about 6'6" from the floor to the bottom of the joists anyways. So, we decided not to add a ceiling but to create one by cleaning the joists and whitewashing the underside of the subfloor.


Love that vintage wiring job, eh?

Cleaning: $0. Whitewashing: $0 (we had leftover off-white paint from an upstairs project and just added water!). Beams: we bit the bullet and bought Minwax's water based Polycrylic. First time using it and I loved it. Not for floors, but this is a ceiling, so hey! They also had a rebate this week, so we saved a little dough.

And the 70¢ item - we ended up with these awkward places at the top of the walls, where the joists punch through onto the sill but where there's no wall framing. Kind of little bumpouts. After insulating, we weren't quite sure what to do about them - then - eureka! - we should make it look like another beam! So, off to the local ReStore to get a vintage couple of joists. They gave us a couple of great ones for 70¢ (they are moving - closer to us! - and want to clear inventory). Yesterday we cut them to length, installed, and Polycrylic-ed - and the ceiling is officially done!


Next - walls. Getting there! It's so nice to see a finished surface!

Sunday, April 3, 2011

Lest you think we're slacking...

We've actually got almost the entire bathroom and bedroom (2 of 4 planned basement rooms) ready for stuff like floor covering, wall JC, tile, and wall covering. Somehow, this is all coming together quickly, despite our having really limited time due to crazy work schedules.

Oh, I remember - it's that it was basic gutted space, and we don't need to work around zillions of bits of historic trim, etc.

Here's where we are:

View of one bedroom wall, looking into bath. The dryer vent was a real pain to install. Especially since we don't use the dryer! But, have to have it for future owners. The opening at the top left will have glass blocks. We're trying to maximize light throughout the space.

Looking into the 'laundry nook' in the bathroom, glass block area at the top right.

Inside the bathroom, where the old sink and truncated wall used to be. See that old work table? Stay tuned for next post - it's been turned into a cool modern vanity.

From the bathroom, looking out toward the bedroom.

A built-in shelf unit (no shelves yet) that uses the brick chimney as the back wall. We are using the exposed brick when we can - love that loft look!

We've done lots of other things as well - look for more updates soon.

Tuesday, March 1, 2011

Psycho Killer.

Qu'est-ce que c'est?
Why, it's tape.

Flashback: there was a house next door to our old apartment, where they never opened the shades or doors, and we never saw the people. For, like, 7 years. (Though they once stole our recycling bin). Our old roommate used to say they were "making skin quilts in there". So we called them the Skin Quilt People.

Fast forward: last year we drove past this lonely door on the side of the road, kind of near the new neighborhood. I've always had a thing for these old, classic storm-door style things, so we grabbed it. Turns out, it will be perfect down cellar where we need as many windows and mirrors as possible to move light around.

But first - the tape. What kind of crazy, Skin Quilt person did this? In case you can't see, there is masking tape on both sides of every single window pane in this door. What's more, the tape on one side is oriented horizontally, whereas on the other side it's vertical. And perfect. Someone spent some time on this thing - perfectly overlapping each piece of tape.

I can think of only three explanations (feel free to add!):
  1. Paranoid.
  2. Drug dealer.
  3. Skin quilt-making psycho killer.
We don't really have hurricanes around here, so that's not a possibility. There's over $20 of masking tape on this damn thing. Seriously - never heard of a CURTAIN? Or SPRAY PAINT?

But then again, I must be nuts too because I peeled it all off. (Hint: hot water, dish soap, razor scraper. That's all it takes).


It's a freaking awesome door, though. I'm currently stripping the crappy paint off and we'll do it up nicely as a bathroom door for the cellar. Thanks, Psycho Killer.