OK, we've officially (re-)started working on the hallway. It extends from the living room on the main floor up to the second floor, so we're talking about a large section of wall, baseboard, 1 window, some wall repairs, tidying up where we removed the old closet door (now the shower stall) and 3 doorways into the 3 bedrooms.
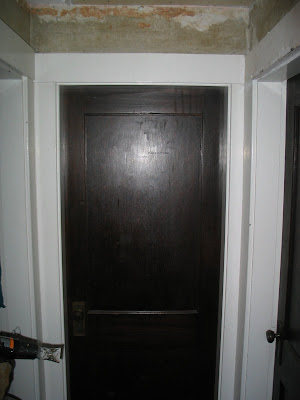
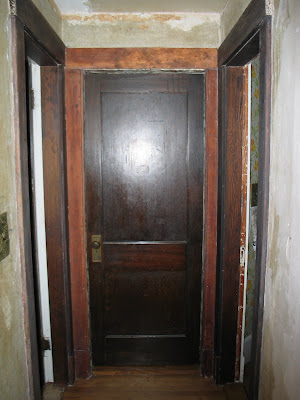
The hallway will be tough to photograph, since it's long & 2 stories, but we'll give it a go. Here's a before pic of the upstairs part, near the end where the bedroom doors are. They'll be the lion's share of the paint stripping, then we'll be in the home stretch. This photo was from earlier today, obviously wallpaper was already gone and the next task was paint stripping.
 The good news is that a lot of the project has already been started, simply because we were doing other things nearby and it made sense to do the hallway while we were at it. So, wallpaper came down (it was sooo ugly that Ken had to rip it off right after we moved in), the green 'brain' carpet was ripped off the stairs & floor the day we bought the house, we started stripping the stair stringer baseboard and the window while we were stripping other things, and we patched a lot of the walls & drywall while we were doing the bathroom. Oh, and it's all re-wired with lighting and smoke alarms, etc. Phew!
What's left to do is:
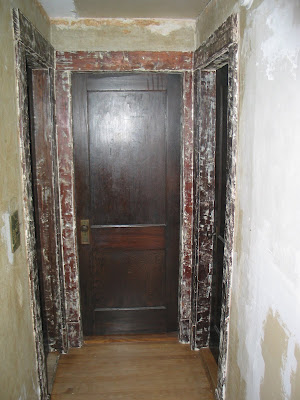
- a moderate amount of paint stripping
- fixing a bad section of wall (drywall then our lovely sanded JC skimcoat to mimic plaster)
- some ceiling smoothing
- paint walls and stain trim
We have the paint already (leftover living room color + some off-white from the downstairs bath to mellow it out) and all the other supplies, so this should be a very, very cheap project too.
The idea is to work on it a bit at a time then voila! We'll suddenly be done. Meanwhile, we plan to do at least 1 small, leftover touch-up type job from the kitchen or bathroom each week, so we can wrap those up too. The goal is to finish up everything by, let's say, end of March? Sound good? Then we move on to the lovely mudroom, having trashed the old crappy rug all winter with out salty boots. Ha!
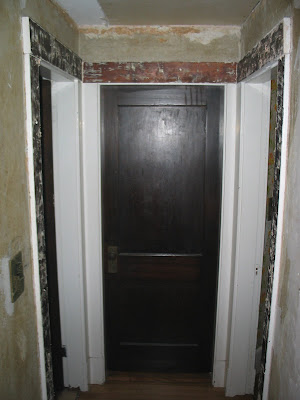
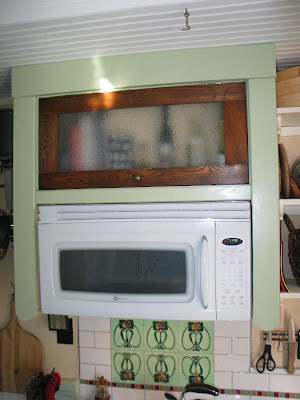
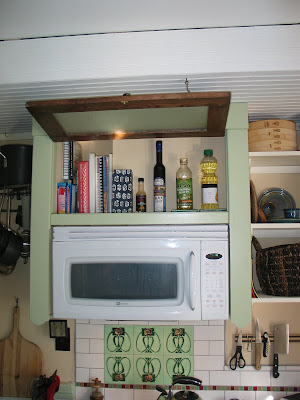
So today, we started paint stripping (photo above, about an hour's worth) and we finished the door over the microwave cabinet in the kitchen. Sweet!
We built the microwave door from an old oak cabinet door from the salvage place in Searsport (
see this entry for the Before pic) and a piece of pebble glass I successfully pulled from an old window from a different salvage place. Ken figured out how to cut the pebble glass using boards to clamp it and then just a glass cutter to score & snap. Phew - that was stressful! Then we just cut & re-assembled it, and installed. We tried some fancy door-holder-uppers but they were awkward & we settled on the good old fashioned hook & eye to hold the door up for extended periods of time. Much more vintage, methinks. Luckily we had lots of brass hook & eyes that came with the house. Score!
Stay tuned for the next bit of progress...
 And, I spent the morning 'touching up' the previously stripped wood trim along the stair stringers. That is to say, I spent the better part of the day scrubbing paint off 2 pieces of wood. They look good, though:
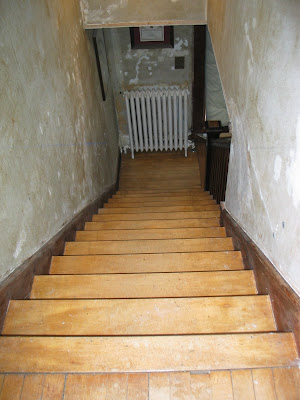
 So, looking through the
  The solution is to put up a chair rail, darker paint/wallpaper below it, and attach the railing to the chair rail so it looks like one and the same. Ha! The setup is absolutely perfect, and I think we'll have to do it. Eureka! Thanks again Mom for the subscription!
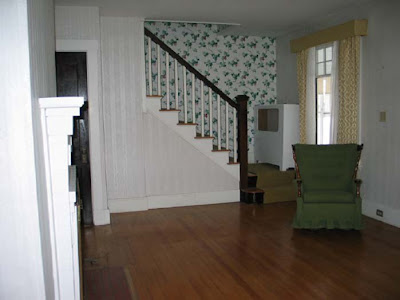
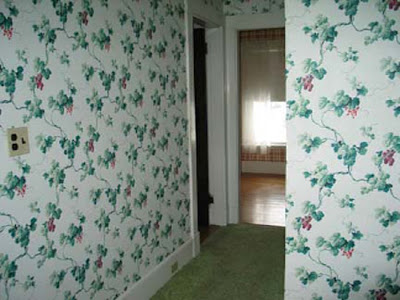 And here's the part that's the end of the living room, from just before we bought the house. Kind of gives me heart palpitations to see those curtains again. Avert thine eyes!