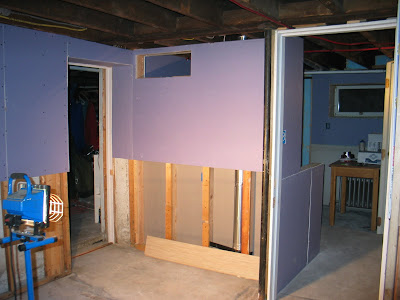
Our latest project has been the ceiling in the basement bedroom. It has a horrible dropped paper tile ceiling - which we immediately removed. And then a zillion nails, screws, staples, etc. Also gone.
 The goal was to not reduce the total height of the room any more than necessary, because it's only about 6'6" from the floor to the bottom of the joists anyways. So, we decided not to add a ceiling but to create one by cleaning the joists and whitewashing the underside of the subfloor.
Love that vintage wiring job, eh?
Cleaning: $0. Whitewashing: $0 (we had leftover off-white paint from an upstairs project and just added water!). Beams: we bit the bullet and bought Minwax's water based Polycrylic. First time using it and I loved it. Not for floors, but this is a ceiling, so hey! They also had a rebate this week, so we saved a little dough.
 And the 70¢ item - we ended up with these awkward places at the top of the walls, where the joists punch through onto the sill but where there's no wall framing. Kind of little bumpouts. After insulating, we weren't quite sure what to do about them - then - eureka! - we should make it look like another beam! So, off to the local ReStore to get a vintage couple of joists. They gave us a couple of great ones for 70¢ (they are moving - closer to us! - and want to clear inventory). Yesterday we cut them to length, installed, and Polycrylic-ed - and the ceiling is officially done!
 Next - walls. Getting there! It's so nice to see a finished surface!


