Enough with the shabby chic thing already! It's not my style at all, but being an open-minded person, I get it: you take some broken down thing and paint it up all cute. You make it look old by putting it through several decades of abuse in a few hours with a series of torture devices (chains, sandpaper, drills, whatever implement of destruction you have on hand). Cute ain't my thing, but the furniture or decorative item can, indeed come out cute and stylish. And invariably, white, pink, pale green, or flowered:


Or heinously tacky (sorry, whoever's this is. The butterflies are really wrong, though):
 The style is supposed to be inspired by items found at European flea markets. Sounds good, in theory.
So why the "cease and desist" order? Everyone's entitled to their own personal style, right? Well, yes. But, much like our Constitutional rights, yours stop right where mine begins. Therefore, I implore you, please STOP ruining antique mission oak furniture. You're seriously hurting my feelings, and jeopardizing the world supply of good antique furniture. Before you take a paintbrush, sledgehammer, jackhammer, or chisel to a perfectly wonderful quartersawn bookshelf, take a second. Ask yourself these three important questions:
- Is this item a well-made, solid, probably hand-made item? If so, it probably does not deserve your abuse.
- Is there a label anywhere, or can you identify a highly desirable wood species or style? If so, take a minute and look it up - see if the piece is best left alone.
- Is this piece in such terrible shape that nobody could ever restore it? If there aren't several broken-out structural members or if less than 25% of the material is missing, consider restoring the piece and selling it to a period collector. How much really junky, truly broken, factory made furniture could you afford with that kind of cash? Enough to warrant thinking twice before trashing a period antique.
Seriously folks, if you want to wreck something, get yourself some unfinished pine or make sure it's really a piece nobody cares about. Go for some factory-made, 40s era Queen Anne or Empire pieces (not old Empire, one of my fave styles. Mitts off that too!).
We just stripped a bookshelf that I got cheap, because I recognized the oak, and somebody had not shabbied the whole thing (only the sides and INSIDE the little cutouts, man those were a pain to strip!). They had slathered on coats of white, burgundy, and puke-pink paint. Then sanded a bunch of it away. Fortunately, the oak was probably hard enough to resist the sanding so they didn't remove any material. Phew! Then, they jammed round pine pegs in the through tenons. I couldn't even look at them. We're making oak reproduction pegs to replace them with. Breathe easier, Arts & Crafts devotees. Things will be un-shabby soon.
And you shabby folks -
think before you abuse - I mean, distress. Nothing like a euphemism.
ps - don't forget to VOTE!!!
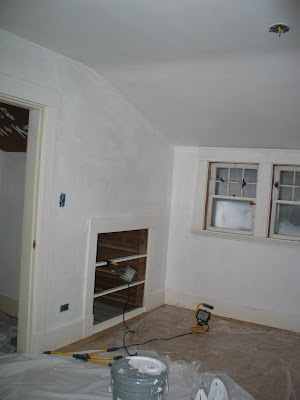
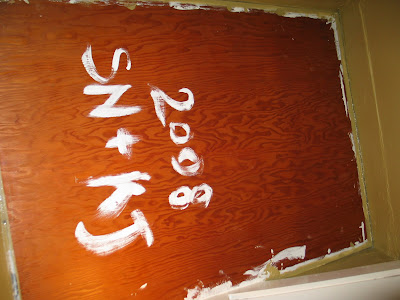


 So, I started stripping (the paint!) using Peel-Away - I had it in my head that I wanted to do a bit of an archaeological dig to reconstruct the paint history of the room. As I peeled away layer after layer, I found (newest to oldest): 2 layers of white, a layer of blue (it's a boy!), a layer of pink (it's a girl!), then two different off-white layers. Incidentally, the oldest layer looks a hell of a lot like the color we'll be re-painting the trim. Welcome back, 1923 color!
 The good news: paint strips off damn easy from a knot! And, you can now see the nice, crisp beveled edge that the makers had carved into the drawer fronts. Great detail, lost under all that paint.


 We'll see if I can post an after photo - with stove - here by tonight. (I'm writing this in the morning, and am oh-so-hopeful to have an after photo).


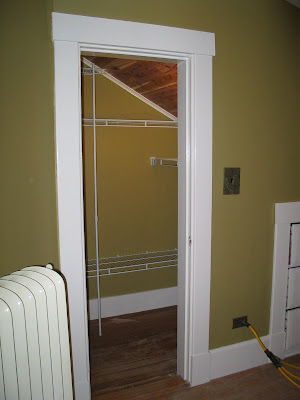
 Way better than 2 furniture units full of stuff we didn't need, taking up too much space. So today, we filled and painted the cracks that we saw when the furniture went when we got the TV - I don't know why...she swallowed a fly. You get the gist. It looks like the old paint still matches thankfully we've labeled the paint cans in big permanent marker so we can always remember what belong with which room.
